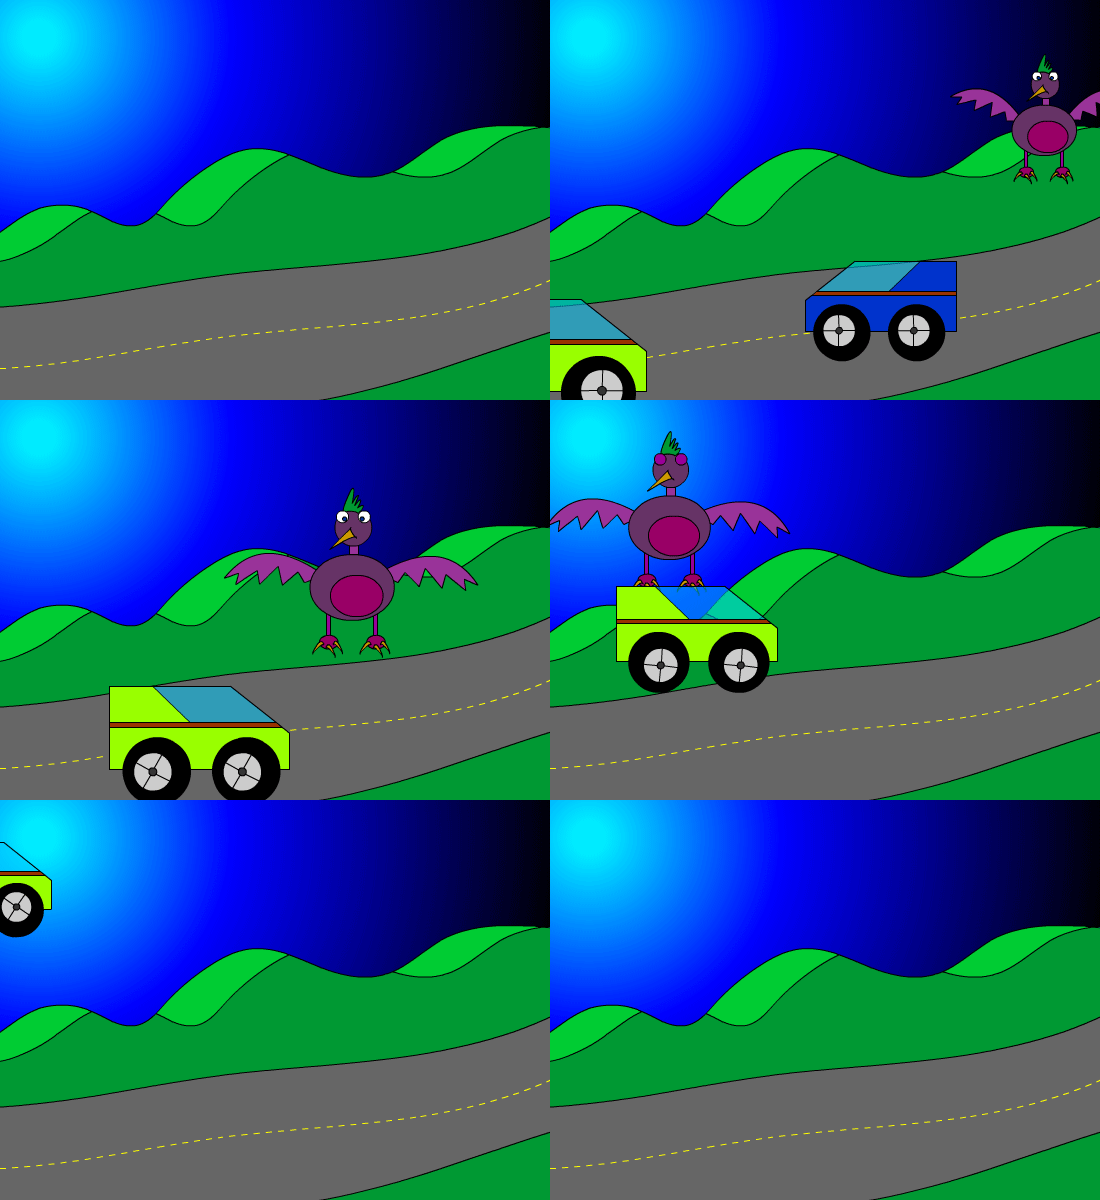
September 14-19, 2026 Objective: Placing Graphics for different sizes. Assignments: Business Card, Web Header, Video Title, & Magazine Ad. Description: Use your logo place in each of the design layouts. Download Media Template
Save As: 007_MediaLayouts_XX.ai Save As: 007_MediaLayouts_XX.png
Welcome to Digital Graphics Art Intro. This semester you will be
learning how to use Illustrator, Photoshop, Animate, html, Audio, Film editing
and many other software programs. Digital Graphics takes patience and
practice but can be very rewarding. Each week you will be given an
assignment do the best you can do. All of your assignments will be
placed in an electronic portfolio.
Starter
Every day on the board answer the starter question in the first 5 minutes of class.
1st Day
-Take a picture of yourself
-Write a bio about yourself.
-Write 2 goals for this class.
Assignments
-Disclosure
-Pretest
Illustrator is a Vector based tool used to create
logos, clip art, t-shirt designs, and many other graphics. Learned how
to use the Selection Tool, Moving objects, creating rectangles,
ellipses, changing color of the fill and stroke, Duplicating, rotating.
Went over the Zoom tool, Align, and Pathfinder.
Assignments:
-Disclosure
-Boxes & Shapes
Assignment:(boxes.ai)
Description: Only using boxes and color create a graphic or image.
Assignment 2:(Shapes.ai)
-Draw an image using the shapes tool.
Description: Add a background and other details to your shapes image.
Objective: Create animation effects.
Assignment: Special Effects Description: Download 5 images. Organize them into a folder. Open After Effects and apply effects to your images.
Objective: Edit multiple layers of video Assignment: Create a Production Company Intro using Photoshop & After Effects Details: Layout a background, Name, and Graphic in Photoshop. Import Photoshop file into After Effects to animate for 5 to 10 seconds. Export to movie. Link:https://freemangraphics.weebly.com/film--video.html
Objective: Explore Camera Techniques. Assignment: Camera Tech Details: Click on the link and copy and paste the worksheet: Camera Tech
Production
-Script
-Storyboard
-Shot List
-Filming
Post Production
-Capture Footage
-Editing
-Exporting
Assignment: Shot List
Details:
Links: http://www.thewildclassroom.com/wildfilmschool/gettingstarted/camerashots.html
DISCUSSION: Log on to your Canvas account to complete your assignment.
Camera Shots, Angles, and Movements
I’m sure you’re itching to start shooting. In fact, I bet you
already have, but do you know the tricks of the trade? Do you know the
industry standards? Before you start making a new style for yourself,
you better know what tools you have to choose from.
Proper framing
The first thing to learn is how to frame your subject. If you’re
a still photographer you’ll already know about the rule of thirds.
This works for filmmaking as well. Notice the website below. The rule of thirds:
This is a general principle in photography, which is generally
considered to make shots more appealing to the eye. One can easily
visualize this rule by taking a frame and dividing the horizontal piece
into three equal sections and dividing the vertical in three equal
sections. This creates 9 equal sections. Where these sections meet are
four points on the frame. By aligning the central object into these
points of the frame (often called the power points), instead of
centering the object, you get more aesthetically and
professional-looking shots.
However, we should note that while we describe this as the RULE of thirds, it might better be used as a guideline.
Common uses of this rule in video are:
Framing an interview: The eyes of your subject should fall in one of the upper powerpoints and the subject should be looking towards the empty space on the frame.
Shooting a horizon: Rather than position
the horizon on the center of the frame, align it along the upper
or lower third depending on what you want to emphasize. For
example, if you’re shooting a cloud time-lapse you will want
two-thirds of the shot centered on the sky.
Basic Camera Shot types:
Extreme Wide Shots (EWS) act to establish the area. Wide Shots (WS) show the entire person or area.
They’re great for establishing the scene and allow for good action of
the characters. Sometimes this is known as the long shot. Medium Shots (MS) frame the subject from the waste up. This is the most common shot and allows for hand gestures and motion. Medium Close Ups (MCU) shots show the subject in more detail and are often framed from just below the shoulders to the top of the head. Close Ups (CU) show a particular part of your subject. For people this usually means the shot frames just the head! Extreme Close Ups (ECU) are much tighter
close-up shots in which you get detail greater than the human eye might
be able to normally perceive. An example of this shot might be of the
mouth and eyes together
Advanced Camera Shot Types
Two Shot: This is a shot of two peoples (or other individuals) together. Cut Away (CA): Cutaways are used in the editing
process to fill in footage which is different from the main action.
B-roll is often used for cut-aways. An example might be a cut away of a
bird singing if the shot is focused on a couple in the woods. Over the Shoulder Shots (OSS) are shot from
behind the person towards their subject. Generally the frame is cut off
just behind the ear, although there are several variations. A good
technique to use to get this shot is to frame the person facing the
subject with about one third of the frame. Point of View (POV): This is an effective shot
that gives the audience the feel that you’re seeing it from the eyes of
the performer. It is taken from near the eye-level of the actor and
shows what he might see. It could be used to give the perspective of
other animals too like a frog, a bird, or a fish. Selective Focus: By using a large aperture value
(f/1.4, f/2.0) you will be able to create a shallow depth of field.
This effectively leaves one part of the frame in focus while blurring
others, such as the foreground or background. When you change the focus
in the shot from the foreground to the background you’re doing another
advanced camera shot called a rack focus.
Group Film Projects
Assignment: Script, Storyboard, Shot list Description: Choose a prop. Write a script, create a storyboard and shot list. Film your video. Use five different camera angles.
Pre Production (Week 1 April 27 - May 1)
-Script -Storyboard -Shot list
Production (Week 2 May 1 - 8)
-Filming
Post Production (Week 3 May 11 - 15)
-Capturing Footage
-Editing
-Exporting
Film Project (300pts)
-50pts (Script, Storyboard, Shot List)
-50pts (Group Intro)
-50pts ( Title, Credits)
-50pts (5 Camera Angles)
-50pts (2 Sound FX)
-50pts (Export video clip)
Editing Skills
Details: Edit video clips
-Create a project folder
Objective: Edit Video Clips Assignment: Re Edit Movie Trailer -100 pts Description: Download and re-edit a movie trailer in iMovie. Find a movie on YouTube then download using a you tube downloader.
Assignment: 5 Sound FX (50 pts) Details: Use sounds library in flash, download or create sound effects in Garage Band. Use .mp3 or .wav files when importing into flash.
Objective: Scene Animation Assignment: Animation Clip Details: Export what you have animated up to this point. Save as: .swf, .mp4, or .mov Click to download Level 1-4
Assignment: Create 5 characters and 5 Backgrounds.
- 5 Characters (50 pts)
- 5 Backgrounds (50 pts) Details: Using scenes, create five different points of view. For example create an establishing shot from a distance, use medium shots, close ups birds eye view, and other angles.
Objective: Draw using shapes and lines. Assignment: Shape Tween Animation 25 pts. Details: Use the drawing tools to draw a background in Animate. Use color and the gradient tool to make it look good. Save As: Shapetween.fla
Objective: Use Graphic Symbols to Animate Assignment: Graphic Symbol (50 pts) Details: Draw an object and convert to a Graphic Symbol. Double click on the symbol and animate on new timeline. Save As: GraphicSymbol.fla
Objective: Animate using the timeline. Assignment: 5 second frame by frame animation. (50 pts) Drawing: Find on notebook or a sticky pad. Create a short frame by frame animation on the corner of 30 pages to make an animation. Flip book Example Details: Use the timeline to create a frame by frame animation. You will need to use the hot key F6 to create a key frame & Shift + F5 to remove key frames. The animation will go for 120 frames which is 5 seconds. Video Tutorial:002 Adobe Animate: frame by frame
Objective: Use Tween to Animate Assignment: Tween Animation (50 pts) Details: Use the timeline to create a tween animation. You will need to
use the hot key F5 to create a frames & Shift + F5 to remove frames. The animation will go for 120 frames which is 5 seconds. Use a minimum of 3 Layers. Video Tutorial:
Objective: Draw using shapes and lines. Assignment: Drawing 50 pts. Details: Use the drawing tools to draw a background in Adobe Animation. Use color and the gradient tool to make it look good.




 Proper framing